Shells Guide
In Mortal Shell II, you possess the Shells of forgotten warriors scattered throughout the world. Each Shell offers unique abilities, strengths, and playstyles.
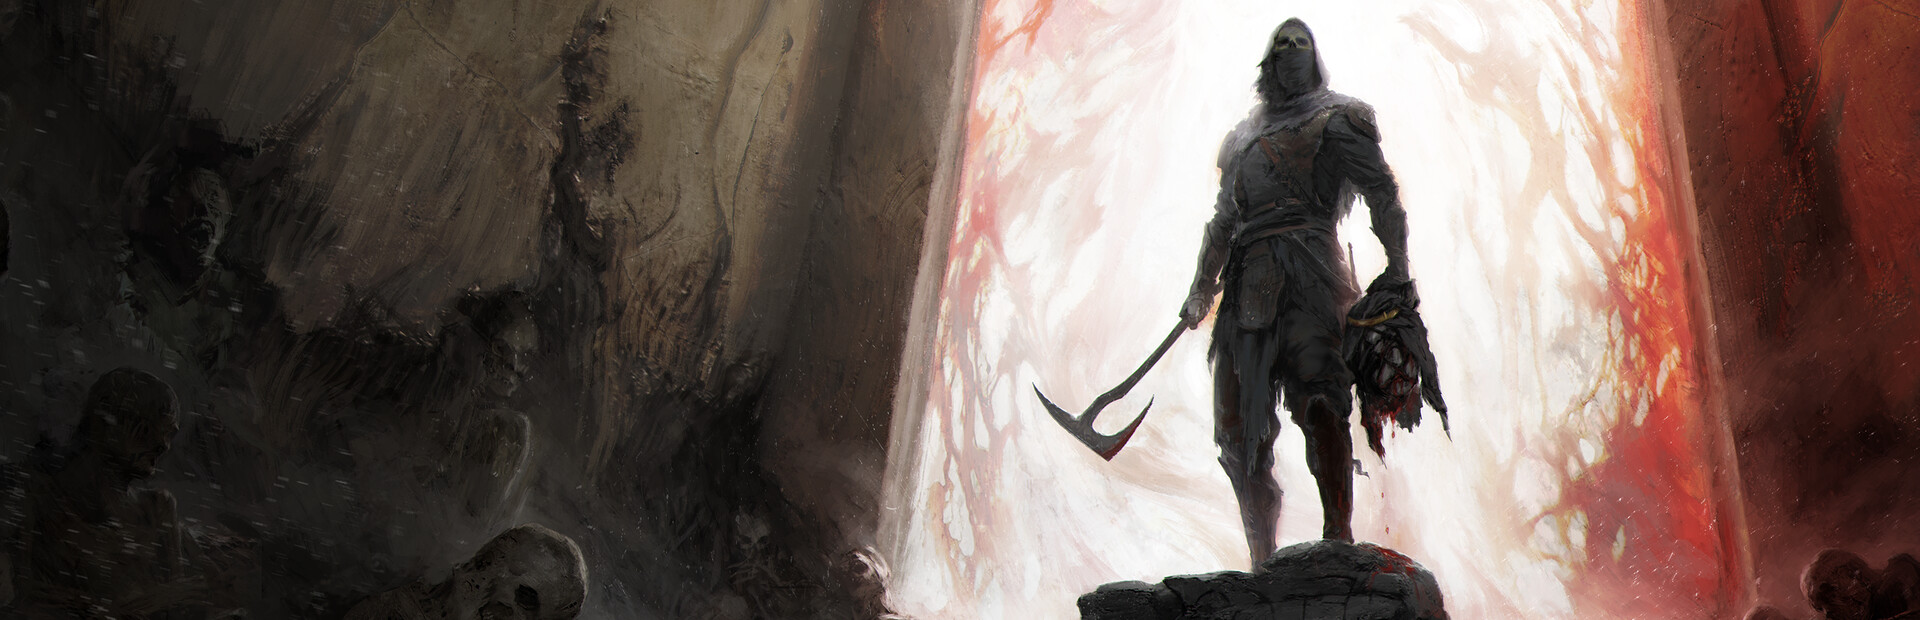
Source: Steam Store
What are Shells?
Shells are the empty husks of once-powerful warriors that you can inhabit and control. By possessing different Shells, you gain access to their unique abilities and combat characteristics, allowing you to adapt your approach to different challenges.
There are eight lost warrior Shells to discover in Mortal Shell II.
Source: SteamFinding Shells
Shells are scattered throughout the compact, interconnected open world. As you explore, you'll discover these forgotten warriors and gain the ability to possess them.
Thorough exploration is key to finding all eight Shells and unlocking the full range of combat options available to you. The eight Shells are divided mainly between the Fainweald region (5 Shells) and theRuins of Mammon / Marrow Keep region (3 Shells).
Source: SteamShell Mechanics
Unique Abilities
Each Shell has distinct abilities that affect your combat approach, survivability, and tactical options. Some Shells may excel at aggressive play, while others favor defensive or tactical approaches.
Strengths & Weaknesses
Different Shells have different strengths. Consider the challenges you face and choose the Shell that best matches the situation or complements your preferred playstyle.
Experimentation is Key
The game encourages experimentation with all eight Shells. Try different combinations of Shells, weapons, and tactics to discover what works best for you.
The Eight Shells
Sourcing Note (Unofficial): Shell names sourced from player databases and community guides. Detailed stats, abilities, and locations are documented by the player community through KeenGamer, Destructoid, GameRant, Game8, and other unofficial guides. Official sources (Steam, mortalshell.com, Playstack) confirm eight total Shells but do not publish individual Shell details on their pages.
The eight permanently unlockable warrior Shells in Mortal Shell II each offer unique playstyles and abilities. Below are detailed location guides for each Shell. For Glimpse spending order, use the best Shells ranking.
Tiel, the Acolyte
"Once you have nothing, you're free to take everything."
Region: Fainweald — Widow's Overlook / Mushroom Village
How to Find: One of the earliest Shells to discover. Head toward the Mushroom Villagearea near Widow's Overlook. Do NOT enter the village itself; instead, continue going east until you reach an enclosure marked by torches at the entrance. Inside, you'll find Tiel's gravestone with his remains in a shallow grave. Interact with the body to unlock Tiel.
Unlock Achievement: Forever Alone?
Unofficial Sources: KeenGamer, Destructoid, GameRant
Proxima
"Purpose gives the soul its shape."
Region: Fainweald — Shattered Beacon, northeast of Blackridge Pass
How to Find: From Widow's Overlook Beacon, head north toward Blackridge Cliffs. You'll encounter cultists and a white spider-like enemy. Continue until you find the Shattered Beacon(next to the Crumbling Tunnel dungeon entrance). Enter the beacon structure and cleanse it to unlock Proxima.
Unlock Achievement: Arrival
Unofficial Sources: KeenGamer, Destructoid, GameRant
Eredrim
"Peace has a price."
Region: Fainweald — Citadel of Penance
How to Find: A returning Shell from the original Mortal Shell. Located inside the Citadel of Penancedungeon. Progress through the Citadel until you reach the central arena, where you'll face The Warden boss.Defeat The Warden to unlock Eredrim's Shell.
Unlock Achievement: Vengeance is Mine
Unofficial Sources: KeenGamer, Destructoid, GameRant
Smert
"Truth is the final revelation before death."
Region: Fainweald — Prophet's Rest, Outskirts of Nochte
How to Find: Fast travel to the Outskirts of Nochte Beacon, then go up the slopeto reach Prophet's Rest. You'll find a ritual site with numerous cultists. Complete the Blood Offering ritualby sacrificing blood twice to unlock Smert. Some sources note you may need to kill enemies in the ritual area to complete the offering.
Unlock Achievement: My Brether
Unofficial Sources: KeenGamer, Destructoid, GameRant
Gragu
"The heart speaks no lies."
Region: Fainweald — One-Legged Wolf Tavern
How to Find: First, obtain the Heart of Vatra from the Temple of Vatra dungeon. Once you have the Heart, travel to the One-Legged Wolf Tavern and deliver it to Gragu. He will grant you access to his Shell in exchange for the Heart.
Unlock Achievement: Heartless
Unofficial Sources: KeenGamer, Destructoid, GameRant
Sester Genessa
"Nothing is so broken it can't be made whole again."
Region: Mammon — Marrow Keep / Revenant Graves
How to Find: Travel to the Revenant Graves region near the Abbey Entrance Beacon. Locate and defeat Sester Secundus to obtain the Sester's Censer item. Return the Censer toSester Genessa in Marrow Keep to unlock her Shell. Note: Genessa is the only Shell thatcannot be marked on your map.
Unlock Achievement: Sester (Hidden)
Unofficial Sources: KeenGamer, Destructoid, GameRant
Lazlo
Shell found in the later Ruins of Mammon region.
Region: Mammon — Royal Crypt / High Lord's Courtyard
How to Find: Navigate to the western Ruins of Mammon and enter the Royal Crypt(also called Crypts of Mammon). Progress through the dungeon toward the High Lord's Courtyard. Defeat the bossVellen, High Lord of Mammon to unlock Lazlo's Shell. According to some guides, Lazlo's Shell may be grabbable without defeating Vellen first, but the boss encounter is typically required.
Unlock Achievement: Down with the Thickness
Unofficial Sources: KeenGamer, Destructoid, GameRant
Sariel, the Endless
"That path to perfection is paved with blood."
Region: Mammon — Chamber of Becoming
How to Find: Reach the Chamber of Becoming dungeon in the Mammon region. Navigate through the Chamber and face the boss Sariel, the Endless. Defeat Sariel to unlock this Shell. This is one of the later Shells and requires reaching the Mammon region.
Unlock Achievement: The Alchemist
Unofficial Sources: KeenGamer, Destructoid, GameRant
Shell Seeker Achievement: Unlocking all eight permanent Shells awards the Shell Seekerachievement/trophy.
Regional Breakdown
| Region | Shells |
|---|---|
| Fainweald | Tiel, Proxima, Eredrim, Smert, Gragu |
| Mammon / Marrow Keep | Lazlo, Sariel, Genessa |
Unofficial Sources: KeenGamer, Destructoid, GameRant, Game8
Harros, the Vassal
There is technically a ninth Shell, Harros, who serves as the prologue Shell. Harros is provided by default at the start of the game but is permanently lost as part of the story. He is not included in the eight Shells required for the Shell Seeker achievement.
"A man is more than mere flesh and bone."
Community Resources
Unofficial player content — not affiliated with Cold Symmetry or Playstack
- Steam Community Guides — Detailed Shell stats, abilities, and strategies
- Steam Discussions — Community discussions about Shell tactics and discoveries
Shell Combat Synergy
Each Shell's unique abilities interact with the stamina-unrestricted combat system and posture mechanics in different ways. Understanding these synergies is key to maximizing your combat effectiveness.
Consider how your chosen Shell's abilities complement your weapon choice and combat tactics.
View Combat Guide • View Weapons GuideShell Selection Tips
- Match Shell to challenge: Some Shells may perform better against specific enemy types or situations.
- Experiment freely: You can switch Shells as needed, so try different options.
- Consider weapon pairing: Some Shells may synergize better with certain weapon types.
- Adapt to your playstyle: Choose Shells that complement how you prefer to fight.
- Learn all eight: Understanding every Shell's capabilities expands your tactical options.
Official Launch Trailer
Official Launch Trailer — Source: Cold Symmetry / Playstack
Related Guides
- Combat Guide — Learn how Shell abilities integrate into combat
- Weapons Guide — Find weapons that synergize with your Shell choice
- Beginner's Guide — Essential Shell basics for new players